
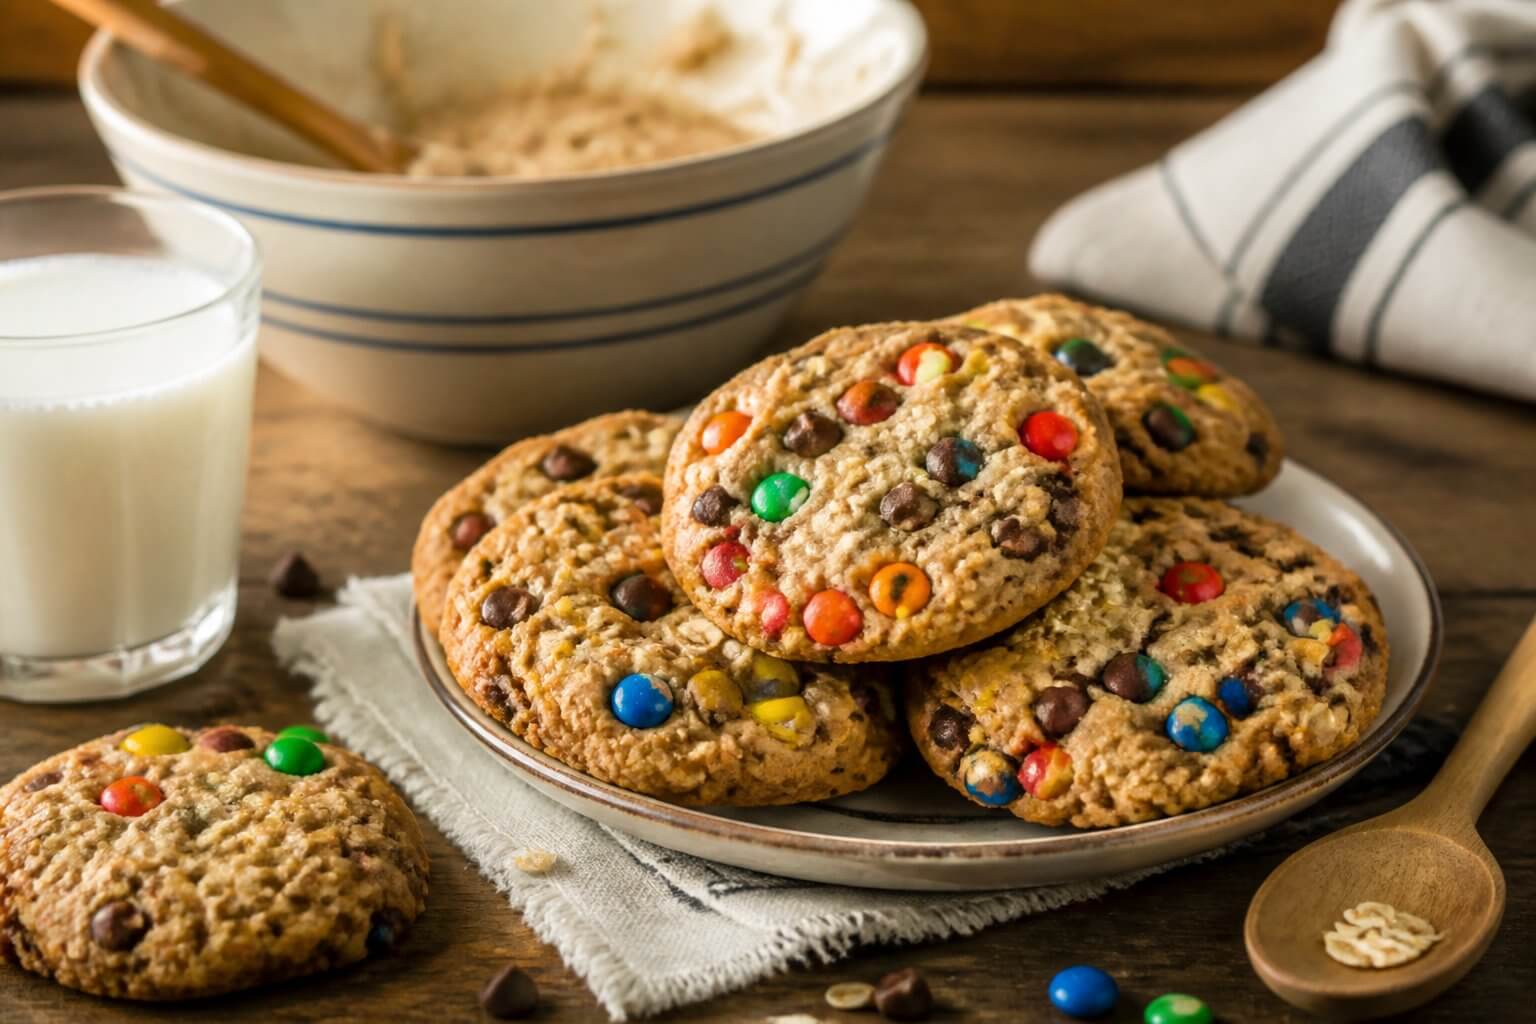
Are you ready to bake the best treats ever? The Pioneer Woman Monster Cookies Recipe is the ultimate choice for your kitchen.
This sweet treat will make your family very happy. Learning how to make Pioneer Woman Monster Cookies Recipe is super simple.
You only need basic ingredients and a little time. Your kitchen will smell amazing.
Gathering the right ingredients for Pioneer Woman Monster Cookies Recipe is your first step to baking bliss.
Kids and adults will love these giant sweets. Let us get started right now.
What Makes This Recipe Special
This cookie recipe stands out because it blends multiple desserts into one. You get the comfort of oatmeal and the richness of chocolate.
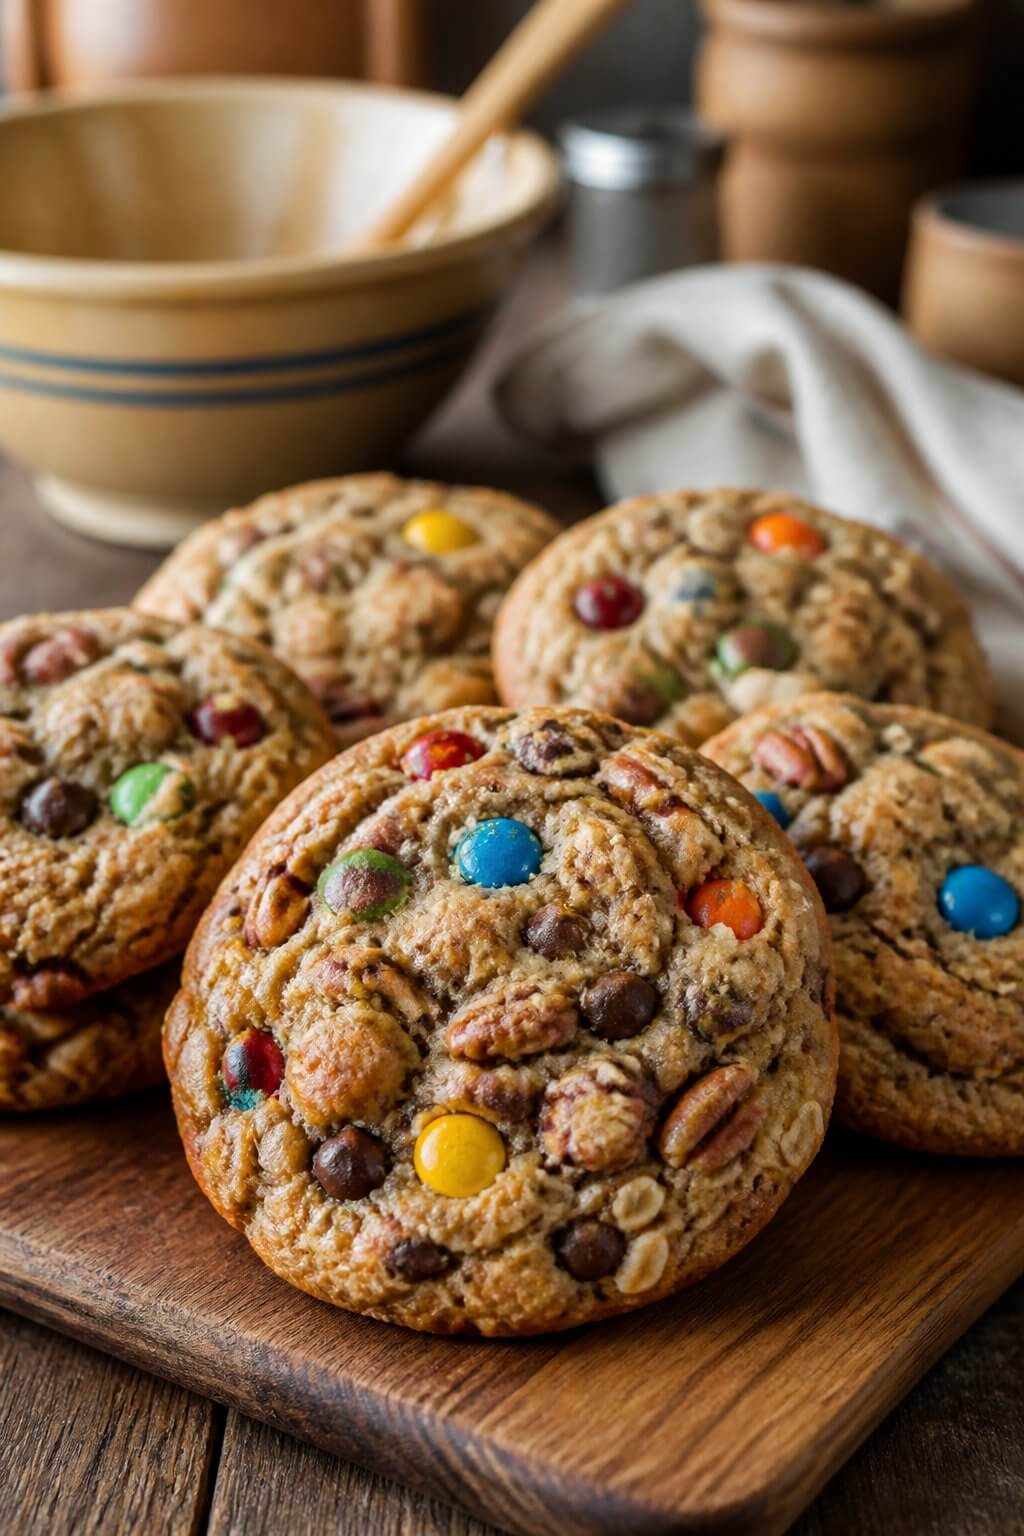
Every single bite is packed with incredible textures. The edges are delightfully crispy. The centers stay wonderfully soft and thick.
The flavor is rich, buttery, and perfectly sweet. It balances salty and sugary notes beautifully. This recipe is also incredibly fast to make.
You can mix the dough in minutes. It requires no complicated steps at all. It is the perfect choice for busy school nights or weekend parties.
If you enjoy classic baking, you might also like trying a classic sugar cookie for your next family gathering.
Equipment List
- Stand mixer: This powerful machine mixes your heavy dough easily.
- Large bowl: You need this to stir your dry ingredients together safely.
- Measuring cups: These help you measure your sugars and flour accurately.
- Measuring spoons: Use these to get the exact amount of salt and vanilla.
- Rubber spatula: This tool scrapes the sweet dough from the bowl sides.
- Cookie scoop: This helps you make perfectly round and equal dough balls.
- Baking sheets: You place your dough balls on these for safe baking.
- Parchment paper: This lining stops your sweet treats from sticking to pans.
- Cooling rack: This lets air flow under your hot treats to cool them.
Ingredients You Need for Pioneer Woman Monster Cookies Recipe
- Butter: This adds a rich and savory flavor to your dough base.
- White sugar: This sweetener makes your treats perfectly crisp on the edges.
- Brown sugar: This ingredient creates a deep caramel flavor and keeps centers soft.
- Eggs: These bind your dough together and add essential structure.
- Vanilla extract: This liquid boosts the sweet aroma of your baked goods.
- All-purpose flour: This provides the main structure for your giant treats.
- Baking soda: This leavening agent helps your dough rise perfectly in the oven.
- Baking powder: This gives your treats a lighter and fluffier texture.
- Kosher salt: This balances the heavy sweetness of the colorful candies.
- Oats: These add a rustic texture and wholesome chew to every bite.
- M&M candies: These colorful milk chocolate shells bring fun crunch and vibrant looks.
- Chocolate chips: These melt beautifully to create pools of gooey chocolate joy.
- Peanut butter chips: These add a creamy nut flavor without altering dough moisture.
- Rice Krispies: This crispy cereal delivers a unique and unexpected light crunch.
- Pecans: These chopped nuts add a rich earthiness and a delightful bite.
How to Assemble
- Turn your oven to 375 degrees Fahrenheit right now. Line your large baking sheets with fresh parchment paper carefully. This prevents your treats from sticking to the hot metal later.
- Place your softened butter and both sugars into your mixer bowl. Beat them on medium speed until the mixture looks light and fluffy. This process takes about three full minutes of mixing.
- Add your large eggs to the creamed butter one by one. Beat well after you drop each egg into the bowl. Pour in your rich vanilla extract and mix it until smooth.
- Whisk your flour, baking soda, baking powder, and salt together. Dump this dry mixture into your wet ingredients slowly. Mix on low speed until the white flour disappears completely.
- Pour your oats, chocolate chips, and peanut butter chips into the bowl. Add your colorful M&M candies and chopped pecans into the dough. Mix gently on low speed for just a few seconds.
- Dump your crispy Rice Krispies cereal into the thick dough at the end. Use a rubber spatula to fold the cereal in by hand. Do not overmix or you will crush the cereal.
- Scoop large balls of dough onto your prepared baking sheets safely. Leave about two inches of space between each large dough ball. They will spread out while they cook in the oven.
- Bake your giant treats for twelve to fifteen minutes total. Remove them when the edges turn a beautiful golden brown color. Let them cool on the pan for five minutes.
- Move the warm treats onto a wire cooling rack carefully. Allow them to cool completely before you serve them to guests. Enjoy your delicious homemade sweets with your family.
Recipe Success Tips
- Always use room temperature butter for easy and smooth creaming.
- Measure your all-purpose flour using a spoon and level method carefully.
- Do not overmix the dough after adding your crispy cereal.
- Leave enough space on your baking sheets for proper heat flow.
- Underbake the centers slightly to keep your treats extra chewy.
- Add extra colorful candies on top before baking for pretty looks.
How To Store Leftover
- You can store your leftover treats in an airtight container easily. Keep the container at room temperature for up to five days.
- Place a slice of white bread inside to keep them soft. You can also freeze the baked goods for three months.
- Wrap them tightly in plastic wrap before freezing them. Thaw them on your counter before eating.
Sides & Pairings Suggestions
- These rich treats pair perfectly with a tall glass of ice-cold milk. You can also serve them alongside a warm cup of dark coffee.
- For an extra decadent dessert, serve them with creamy vanilla bean ice cream.
- They taste amazing next to a fresh fruit platter of sweet strawberries.
- If you love fun desserts, try pairing them with homemade rice krispie treats for a party.
Nutritions
| Nutrient | Value Per Serving |
| Calories | 290 kcal |
| Total Fat | 13g |
| Carbohydrates | 38g |
| Protein | 4g |
| Sodium | 210mg |
FAQs about Pioneer Woman Monster Cookies Recipe
Q: Can I use quick oats instead of old-fashioned oats?
A: Yes. You can use quick oats easily. They will make your treats slightly softer. Old-fashioned oats give a much better chew.
Q: Why did my cookies spread too much in the oven?
A: Your butter might have been too hot or melted. Always use softened room temperature butter. Chilling your dough for twenty minutes helps prevent spreading.
Q: Can I skip the Rice Krispies cereal in this recipe?
A: Yes. You can leave the cereal out if you want. Your treats will still taste amazing. The cereal just adds a fun light crunch.
Q: Can I add real peanut butter to the cookie dough?
A: This specific recipe uses peanut butter chips instead of real peanut butter. Adding wet peanut butter will change the delicate dough texture.
Final Thoughts
The Pioneer Woman Monster Cookies Recipe is a true crowd-pleaser for any occasion. It brings joy, color, and comfort to your kitchen table instantly.
Baking these treats is a fantastic weekend activity to share with your children.
They are loaded with fun ingredients that satisfy every single sweet tooth.
You will love making these for school bake sales, holiday parties, or simple late-night cravings.
For more inspiration, check out the official Pioneer Woman website to find more delicious comfort food recipes.
Grab your mixing bowl and enjoy your baking journey today.
More Amazing Recipes
- Ina Garten Gazpacho Recipe
- Paula Deen Mexican Wedding Cookies Recipe
- Pepperoni Pizza Quesadilla Recipe
- Apple Fritter Bread Recipe

Pioneer Woman Monster Cookies Recipe
Equipment
- Stand Mixer
- Large bowl
- Measuring cups
- Measuring spoons
- Cookie scoop
- Rubber spatula
- Baking sheets
- Parchment paper
- Cooling rack
Ingredients
- 2 Sticks Butter
- 1/2 Cup White Sugar
- 1 1/2 Cups Brown Sugar
- 2 Whole Large Eggs
- 1 Tbsp Vanilla Extract
- 1 1/2 Cups All-purpose Flour
- 1/2 Tsp Baking Soda
- 1 Tsp Baking Powder
- 2 Tsp Kosher Salt
- 1 1/2 Cups Oats
- 1/2 Cup M&m Candies
- 1/2 Cup Pecans
- 3/4 Cup Chocolate Chips
- 1/2 Cup Peanut Butter Chips
- 2 1/4 Cups Rice Krispies
Instructions
- Turn your oven to 375 degrees Fahrenheit right now. Line your large baking sheets with fresh parchment paper carefully. This prevents your treats from sticking to the hot metal later.
- Place your softened butter and both sugars into your mixer bowl. Beat them on medium speed until the mixture looks light and fluffy. This process takes about three full minutes of mixing.
- Add your large eggs to the creamed butter one by one. Beat well after you drop each egg into the bowl. Pour in your rich vanilla extract and mix it until smooth.
- Whisk your flour, baking soda, baking powder, and salt together. Dump this dry mixture into your wet ingredients slowly. Mix on low speed until the white flour disappears completely.
- Pour your oats, chocolate chips, and peanut butter chips into the bowl. Add your colorful M&M candies and chopped pecans into the dough. Mix gently on low speed for just a few seconds.
- Dump your crispy Rice Krispies cereal into the thick dough at the end. Use a rubber spatula to fold the cereal in by hand. Do not overmix or you will crush the cereal.
- Scoop large balls of dough onto your prepared baking sheets safely. Leave about two inches of space between each large dough ball. They will spread out while they cook in the oven.
- Bake your giant treats for twelve to fifteen minutes total. Remove them when the edges turn a beautiful golden brown color. Let them cool on the pan for five minutes.
- Move the warm treats onto a wire cooling rack carefully. Allow them to cool completely before you serve them to guests. Enjoy your delicious homemade sweets with your family.
Notes
- Always use room temperature butter for easy and smooth creaming.
- Measure your all-purpose flour using a spoon and level method carefully.
- Do not overmix the dough after adding your crispy cereal.
- Leave enough space on your baking sheets for proper heat flow.
- Underbake the centers slightly to keep your treats extra chewy.
- Add extra colorful candies on top before baking for pretty looks.